All Bosses in Echoes of Aincrad
Over thirty named boss encounters exist at launch, and they are scattered across prologue cutscenes, sealed quest arenas, optional Arks and sanctuary vaults. This page pulls the whole roster into one place with recommended level, the quest each one appears in, and what actually beats it — plus which fights can kill you outright regardless of how much HP you are holding.
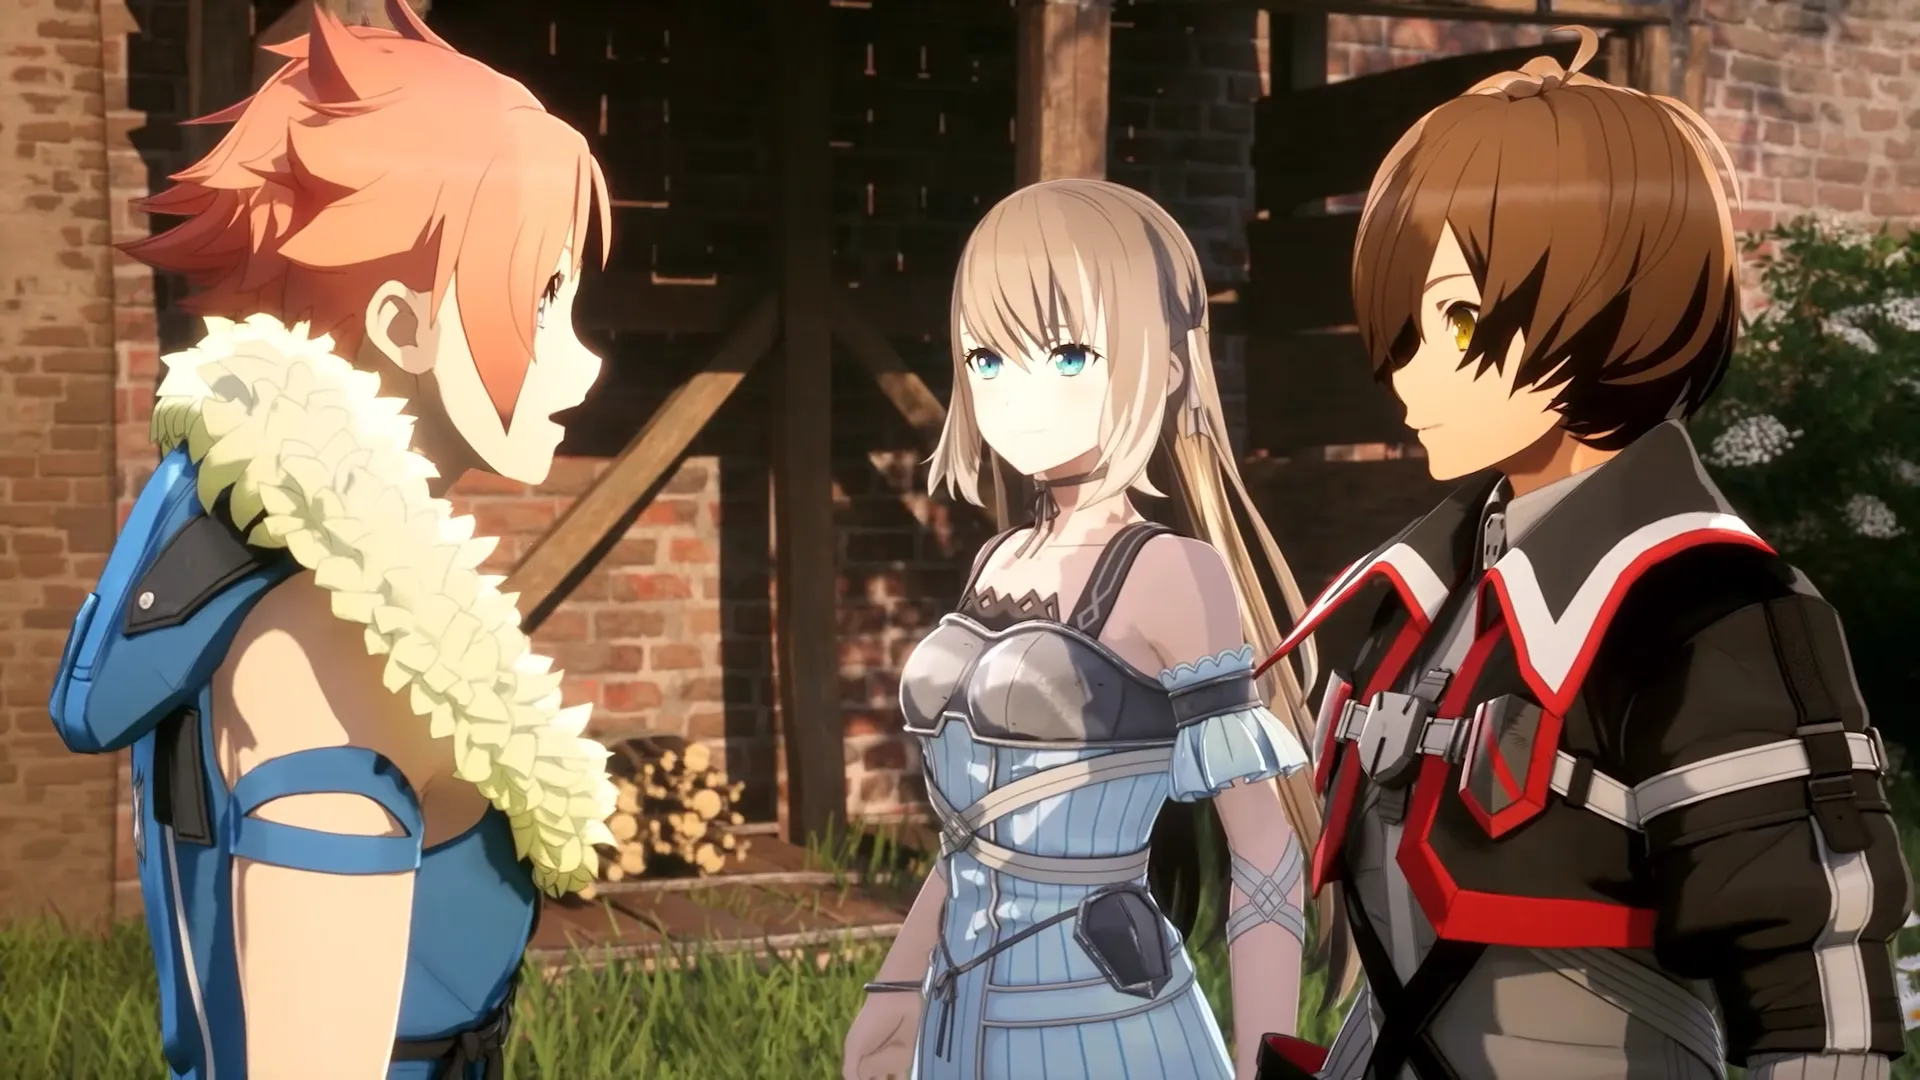
Once a boss seal comes down there is no retreat — every fight on this page is entered with whatever you were carrying.
Four Kinds of Boss — And Why It Matters
"Boss" covers four different things in Aincrad, and they follow different rules for how they are unlocked, whether they are optional, and what clearing them actually gives you. Sorting a fight into the right bucket tells you immediately whether you can walk away from it.
Floor Boss
Story climax · 2 at launchEnds the floor's main story and unlocks the path upward. Illfang the Kobold Lord closes Floor 1; Asterius the Taurus King closes Floor 2. Multi-phase, arena-locked, and the only bosses whose defeat actually advances the climb.
Labyrinth Guardian
Separate 100% gateHidden in each floor's labyrinth and completely separate from the Floor Boss. The Sentry Golem is Floor 1's. You can beat a floor's story without ever touching its Guardian — but the floor is not fully cleared, and you miss the rare blueprints behind it.
Quest Boss
Yellow seal · mandatoryBehind a yellow seal at the end of a main or side quest. Interact with the symbol at the seal's centre to start. These are the bulk of the roster and follow a clean level curve — roughly one every two quests through Floor 1.
Ark Boss
Red seal · mostly optionalSummoned by purifying an Ark in the field. Usually an optional detour for materials and blueprints, but some red seals demand multiple Arks purified before they drop — at which point the Ark boss becomes required progression, not a side fight.
The duplicate-name trap
You fight Sentry Golem and Illfang the Kobold Lord twice. The prologue is a scripted replay of the closed beta, so both appear at Level 1 with fixed gear as tutorial encounters. Both then return as genuine Floor 1 content — Illfang as the Floor Boss that ends the floor's story, Sentry Golem as the Labyrinth Guardian behind full floor completion. Players who breezed through the prologue versions routinely walk into the real ones under-prepared.
Prologue & Opening Chain (Level 1–10)
The opening run is effectively a boss-shaped tutorial: each fight introduces one system — parrying, guard breaking, breakable body parts, then a status ailment. Recommended levels assume Normal difficulty.
| Boss | Quest | Lv | How to Beat It |
|---|---|---|---|
| Sentry Golem | Prologue | 1 | Every attack it throws can be blocked, which makes it the game's parry tutorial. Use Reversal Slash on the blue-circle cue and Parry Slash after a successful block — the fight is scripted to teach both. |
| Illfang the Kobold Lord | Prologue | 1 | Break its shield first with Crush Attacks; nothing meaningful lands until the guard is gone. Ruin Kobold Sentinels join in threes at the start and on each lost health bar — hand them to your partner rather than switching targets yourself. |
| Snowcap Boar | Iori's Request | 3 | Freezes you and slows your recovery. When a body part glows blue it is breakable — land a heavy attack on it. Breaking its tusks strips the elemental attacks out of its kit entirely. |
| Glenspore Grizzly | Within the Shadows | 7 | Glowing claws telegraph a lunge-and-grab; dodge rather than block it. Strong attacks stagger it and open a party window. Its fire breath is a narrow frontal cone, so fighting from behind removes most of the Burning threat. |
| Dire Strife Wolf | The Violet Fencer I | 10 | Electric attacks build Paralyzed fast. Watch the buildup meter at the bottom of the screen rather than waiting for the icon — once paralysis lands mid-combo you will eat the follow-up for free. |
| Wrathful Shrewman | The Violet Fencer II | 10 | Dark purple clouds apply Blinded, and its roar calls in reinforcements. Kill the adds before they stack, and step out of every cloud instead of trading through it — Blinded here means missing the parry cues completely. |
Floor 1 Quest Bosses (Level 12–20)
Floor 1 delivers roughly one boss every two main quests on a clean two-level curve. If you are keeping pace with the main line and upgrading at the Smithy, you will arrive at each of these at or slightly above the recommended level without deliberate grinding.
| Boss | Quest | Lv | How to Beat It |
|---|---|---|---|
| Raging Boar | Beaten to the Punch | 12 | A body-part fight, not a health-bar fight. Drop its HP and destroy all three breakable parts. Iori's healing carries this one — bring her and stay inside her support range instead of chasing the boar around the arena. |
| Flowering Nepenthes | Secret Medicine of the Forest | 13 | Smaller Nepenthes ring the boss and make approach awkward, but they have very low HP — sweep them with a wide Sword Skill rather than picking them off. Bring at least one Cleansing Crystal for the Sleeping status. |
| Shrewman Queen | Dawning Fear | 14 | Her voice shockwaves look unavoidable but you can dodge straight through them. She summons more Shrewmen throughout, so keep a Sword Skill in reserve for add clear rather than dumping SP into her health bar. |
| Scream Hornet | Onward to Tolbana | 15 | Bring Antidotes. Its poison output is disproportionate for this point in the game and will out-tick your healing if you let buildup complete twice. Ground it when you can — an airborne hornet dictates the whole fight. |
| Large Nepenthes | Raid Call | 17 | Unlike the smaller Nepenthes it stays above ground while moving, so it repositions faster than you expect. Heavy AoE centred on itself means the safe zone is mid-range, not melee and not far — commit, hit, and step out. |
| Thorncrown Mountain Spirit | Grip of Despair | 18 | Two phases, and it sprints at you rather than closing slowly. Consecutive attacks are what break it — this is a boss that rewards staying on it through the pressure instead of resetting spacing after every exchange. |
| Kobold Champion | Labyrinth | 20 | A fast fire-wielder where dodging and rolling clearly beat guarding — its speed punishes the recovery on a block. Burn damage compounds, so watch HP rather than assuming a single tick is harmless. |
Floor 1 then closes with Illfang the Kobold Lord as the Floor Boss and the Sentry Golem as the Labyrinth Guardian. Full breakdowns for both live on the boss guide and the prologue boss guide.
Floor 2, Sanctuaries & the Hardest Fights
Floor 2 abandons the gentle curve. Sanctuary guardians run three phases with self-clones and Instant Death, and the optional Golden Gate encounters sit far above anything the story asks of you.
| Boss | Where | Threat | How to Beat It | Drops |
|---|---|---|---|---|
| Cursed Shrewman | Que's Sanctuary | Instant Death | Manageable in phase one. On entering its second phase it gains bouncing red orbs that apply the Instant Death ailment — these travel unpredictably, so treat every orb on screen as lethal and prioritise spacing over damage. | Col, Selenite Ingot, Silver Ingot, Mage Crystal, Anneal Longsword, Annealed Sledgehammer, Iron Scythe |
| Troll Ark Shaman | Que's Sanctuary | Instant Death | Three phases, each with its own gimmick. Phase one summons Kobolds and Trolls and lays yellow paralytic clouds; back off the moment it grips the staff two-handed for a massive purple cyclone. Phase two spawns a clone with a separate health bar that will not disappear when the boss's bar drops — kill it. From phase two the Whirling Staff leaves Instant Death miasma, some of it nearly invisible. Phase three it crawls after losing a leg and fires a sweeping laser from the glowing stump; roll through and get behind it. | Col, Dark Ingot, Selenite Ingot, Silver Ingot, Red Core, Rare Cloth Scrap, Crude Weapon Fragment, Snake Phantasm, Noble Rapier |
| Bulbous Bao | Floor 2 savanna line | High | The template for the Raging Mountain Bao elites you meet in the field: a ranged mud flick plus rolling and bouncing charges. While it is inflated, stay out entirely unless you can hit it at range — melee inside that window trades badly every time. | Col, Silver Ingot, Red Core |
| Red Mordred | Late Floor 2 | High | Immune to Burning, so any fire-leaning loadout you built for the Floor 2 field enemies contributes nothing here. Swap to a physical or alternate-ailment setup before entering rather than discovering the immunity mid-fight. | High-tier Floor 2 materials |
| Asterius the Taurus King | Floor 2 Floor Boss | Floor Boss | Three phases. In phase two, bait his charge into one of the stone pillars in the arena — the collision stuns him and opens the window for synchronised partner attacks. Clearing him rewards large Col, rare crafting materials, weapon blueprints and access to Floor 3. | Large Col, rare materials, weapon blueprints |
| Golden Gate Boss | Golden Gates, Floor 2 | Extreme (Lv 60) | Not story content and not forgiving. Opening a Golden Gate consumes a Gold Crystal whether you win or lose, and spawns a boss-tier enemy — the Cliffside Marvel gate holds one at roughly Level 60. Fail and you respawn at the last checkpoint, crystal gone. | Large EXP and Col, high-quality gear with strong EX-Mods |
Ark Bosses & Optional Encounters
These sit behind red seals, sanctuary doors and side quests rather than on the main line. Every one of them follows the same universal rules — purify the Ark to summon it, the arena locks, and the payout is materials and blueprints rather than story progress.
Ruin Kobold Chieftain
Kobold line commander encountered on the Floor 1 main quest route.
Ruin Kobold King
The heaviest kobold variant — expect the shield-break rules from Illfang to apply.
Trampling Ox
Ox-family charger; the pillar-bait logic used on Asterius works on the whole family.
Thunderhorn Ox
Electrified ox variant — assume Paralyzed buildup on its horn attacks.
Thousand Spears Spine
Side-quest encounter; multi-hit spine attacker rewarding spacing over trading.
Troll Leader
Base troll commander; the Troll Ark Shaman's summon pool draws from this line.
Troll Fire Reaver
Fire-aligned troll — carry Burning resistance rather than fire damage.
Storm Hornet
The escalated Scream Hornet. Antidotes and an anti-air plan are both mandatory.
Blood Wolf Leader
Pack leader boss; kill priority logic from field wolves still applies to its summons.
Mountain Range Bao
Bao-family boss sharing the inflate-and-charge pattern with Bulbous Bao.
Trembling Cow
Drops blueprint material — worth clearing even when the seal is optional.
Grand Orbweaver
Sanctuary guardian standing between you and a Legendary Weapon.
Defender Golem
Sanctuary guardian. Golem-family Break Marker rules apply — go for the core.
Tyrant Golem
The heaviest golem at launch; expect a Break Marker phase before real damage lands.
Thicket Visgo
Arc Boss in the Opportunity side quest. Patch Ver.1.0.4 fixed it getting stuck underground mid-dig.
Some red seals need multiple Arks purified before they drop, which quietly converts a subset of these from optional to mandatory. See Arks & Seals for how the summoning and purification loop works.
The Watch List — Fights That Kill You Outright
Most bosses kill you by attrition and give you time to react. These six do not. If you are playing Death Game Mode, this table is the one to read twice.
| Mechanic | Source | Why It Ends Runs |
|---|---|---|
| Instant Death miasma | Troll Ark Shaman (phase 2+) | Some clouds render almost invisibly. In Death Game Mode this single mechanic is the most common run-ender at launch. |
| Bouncing red orbs | Cursed Shrewman (phase 2) | Orbs ricochet unpredictably around the arena, so positioning that was safe a second ago is not. |
| Burning immunity | Red Mordred | A fire-focused build contributes zero here. Check resistances before the seal, not after. |
| Self-cloning | Troll Ark Shaman (phase 2) | The clone has its own health bar and survives the main bar dropping. Ignoring it means fighting two bosses in phase three. |
| Consumed on failure | Golden Gate Boss | The Gold Crystal is spent when the gate opens, not when you win. Losing costs the crystal outright. |
| No retreat | Every sealed boss | The seal closes behind you. Entering at partial Healing Crystals is the single most common avoidable death. |
The Six-Step Pre-Boss Checklist
Run this before every sealed door. It costs about ninety seconds and removes the majority of avoidable boss deaths in the game.
Touch the nearest Safe Area
Safe Areas fully refill Healing Crystals and act as your checkpoint. Never cross a boss door from a Safe Area you skipped.
Fill all ten pouch slots
The pouch holds ten consumables and the main terminal can auto-refill before a quest starts. Healing Potions, SP Potions and a Cleansing Crystal are the non-negotiables.
Upgrade at the Smithy
Enemies scale with Cardinal Rank. A boss that feels impossible is usually a weapon two upgrade tiers behind, not a skill problem.
Spend your Growth Points
Unspent points at the inn are the most common reason a player is under the recommended level in practice while matching it on paper.
Pick the partner, not the favourite
Iori's healing carries body-part fights like the Raging Boar. Switch Mode splits aggro when you need breathing room; Free Mode stacks burst on a single target.
Check the ailment you are walking into
Antidotes for Scream Hornet, Cleansing Crystal for Flowering Nepenthes, Burning resistance for the Grizzly line. Matching the counter to the boss beats generic stacking.
Six Mistakes That Cost People Boss Fights
| Mistake | What to Do Instead |
|---|---|
| Treating the prologue difficulty as the real game | The prologue hands you Sentry Golem and Illfang at Level 1 with scripted gear. Their real Floor 1 versions are entirely different fights — do not assume you have already learned them. |
| Skipping the Labyrinth Guardian | Beating the Floor Boss advances the story but leaves the floor incomplete. The Guardian gates the rare blueprints, and skipping it puts your gear behind on the next floor. |
| Chasing the boss's health bar during add phases | Shrewman Queen, Illfang and the Troll Ark Shaman all summon. Damage into the boss while adds are alive is damage you take back with interest. |
| Blocking when the boss punishes recovery | Kobold Champion and the fast Floor 2 bosses out-speed block recovery. Dodging and rolling is not the coward's option against them — it is the correct one. |
| Ignoring breakable body parts | Snowcap Boar's tusks and the Raging Boar's three parts are the actual win conditions. Breaking parts removes attacks from the boss's kit permanently for that fight. |
| Opening a Golden Gate to 'see what happens' | The Gold Crystal is consumed on opening. A Level 60 boss with no preparation is a guaranteed loss and a wasted crystal that took a Blink Talisman detour to find. |
Frequently Asked Questions
How many bosses are in Echoes of Aincrad?
Just over thirty named encounters across the prologue, Floor 1 and Floor 2 at launch. They split into two Floor Bosses, the Labyrinth Guardians, roughly a dozen main-line Quest Bosses behind yellow seals, and a large pool of optional Ark bosses and sanctuary guardians behind red seals. Golden Gate encounters sit on top as the hardest optional fights.
Why do I fight Sentry Golem and Illfang twice?
The prologue is a scripted replay of the closed beta, so both appear at Level 1 as tutorial fights with fixed gear. They return later as real Floor 1 content — Illfang as the Floor Boss, Sentry Golem as the Labyrinth Guardian gating full floor completion. Same names, very different fights.
Which bosses can inflict Instant Death?
Two, both in Que's Sanctuary. The Cursed Shrewman gains bouncing red orbs in phase two, and the Troll Ark Shaman leaves Instant Death miasma from its Whirling Staff attack from phase two onward — some of those clouds are nearly invisible.
What level should I be for each boss?
Level 1 for the prologue, 3 to 10 through the opening chain, 12 to 20 across Floor 1, then higher on Floor 2. Two or three levels under is survivable; five or more under usually means the boss out-scales your damage and the fight becomes a stamina war you lose.
Can I leave a boss fight once it starts?
No. The seal closes behind you and you are locked in until you or the boss dies. Always approach a boss door from a Safe Area with Healing Crystals refilled and the pouch stocked.
Are Ark bosses optional?
Usually, but not always. Some red seals require several Arks purified before they come down, and those seals block main-line routes — which turns a subset of Ark bosses into required progression.
What is the hardest boss at launch?
The Troll Ark Shaman: three phases, summoned adds, a self-clone with its own health bar, paralytic clouds, Instant Death miasma, and a laser fired from its severed leg stump. Outside the story, Golden Gate encounters spawn Level 60 bosses and consume a Gold Crystal win or lose.